How I Built the Coolest Cyberpunk Gadget for Less Than $10
Meet MiniZX ESPeon — a gadget I’ve been crafting over the past few months. From concept to reality, every aspect of this device is custom-made: the hardware, the software, and the physical case all come from countless hours of tinkering, testing, and designing. Funny enough, the most challenging part wasn’t building it — it was imagining something worth building.
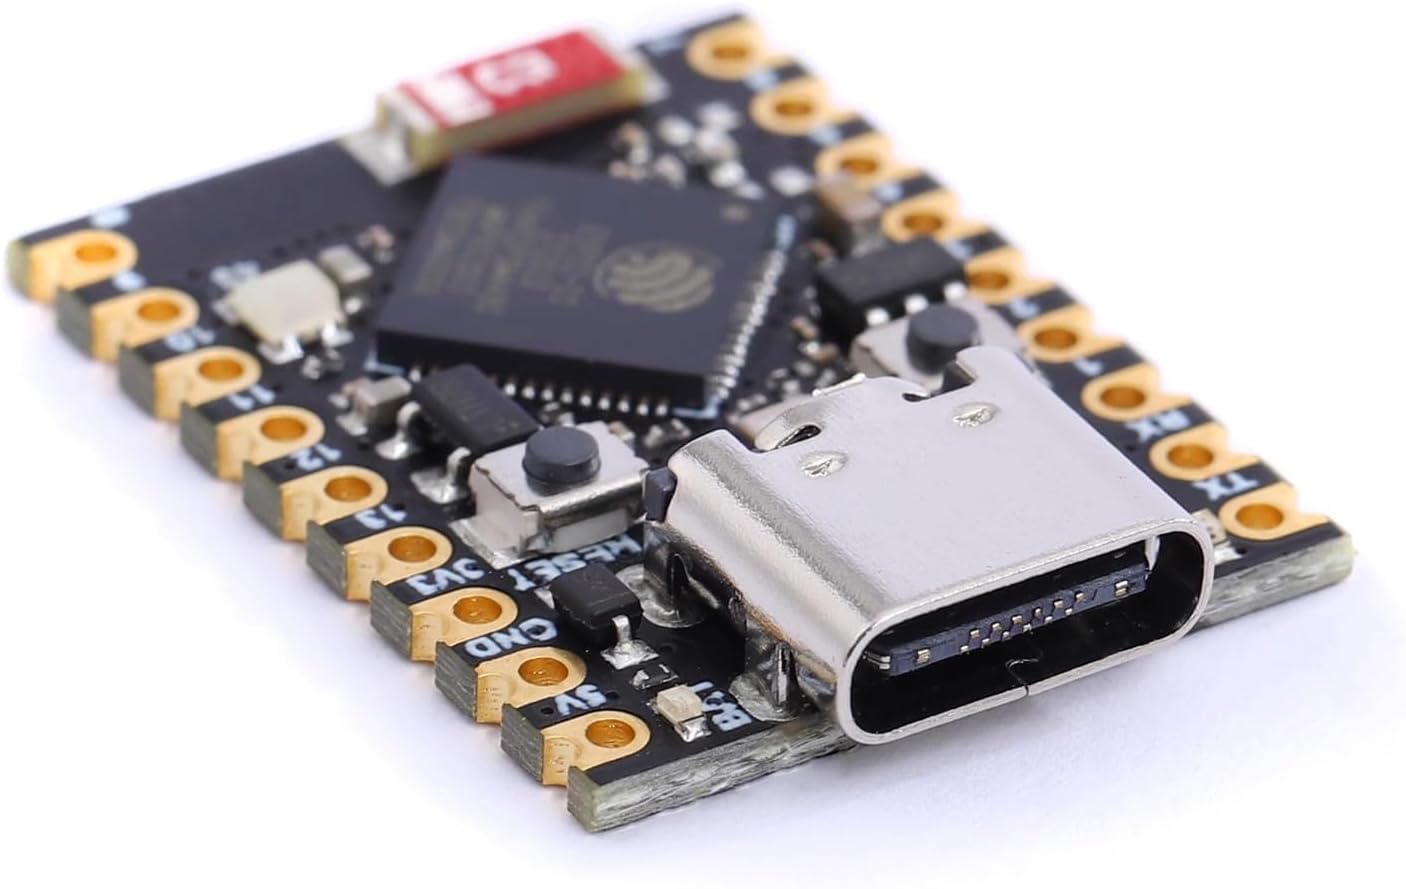
Everything starts with this small yet incredibly powerful and versatile development board: the ESP32-S3 Super Mini. It's essentially a mini computer, equipped with a dual-core Xtensa LX7 processor (by Tensilica) featuring a 32-bit RISC architecture. This tiny powerhouse is capable of handling complex tasks, offering impressive performance and flexibility for a wide range of applications. Whether you're working on IoT projects, real-time data processing, or advanced embedded systems, the ESP32-S3 Super Mini provides the necessary resources to bring your ideas to life with ease and efficiency.
With a compact design and a rich set of features, it supports Wi-Fi and Bluetooth connectivity, making it an ideal choice for wireless projects. The integration of various peripherals and its robust processing capability sets the stage for an unparalleled development experience. The initial idea was to program the ESP32-S3 simply using the Arduino IDE in C++ due to its incredible efficiency, but I soon realized that it wasn't the best choice...
After countless ideas, experiments, and epic failures, the project underwent several transformations until the most exciting idea emerged: flashing the ESP32_GENERIC_S3-FLASH_4M-20240602-v1.23.0.bin using esptool. This approach opened the door to loading multiple software options, transforming the MiniZX into a powerful, pocket-sized mini computer. What started as a simple concept quickly evolved into a versatile, portable computing powerhouse.
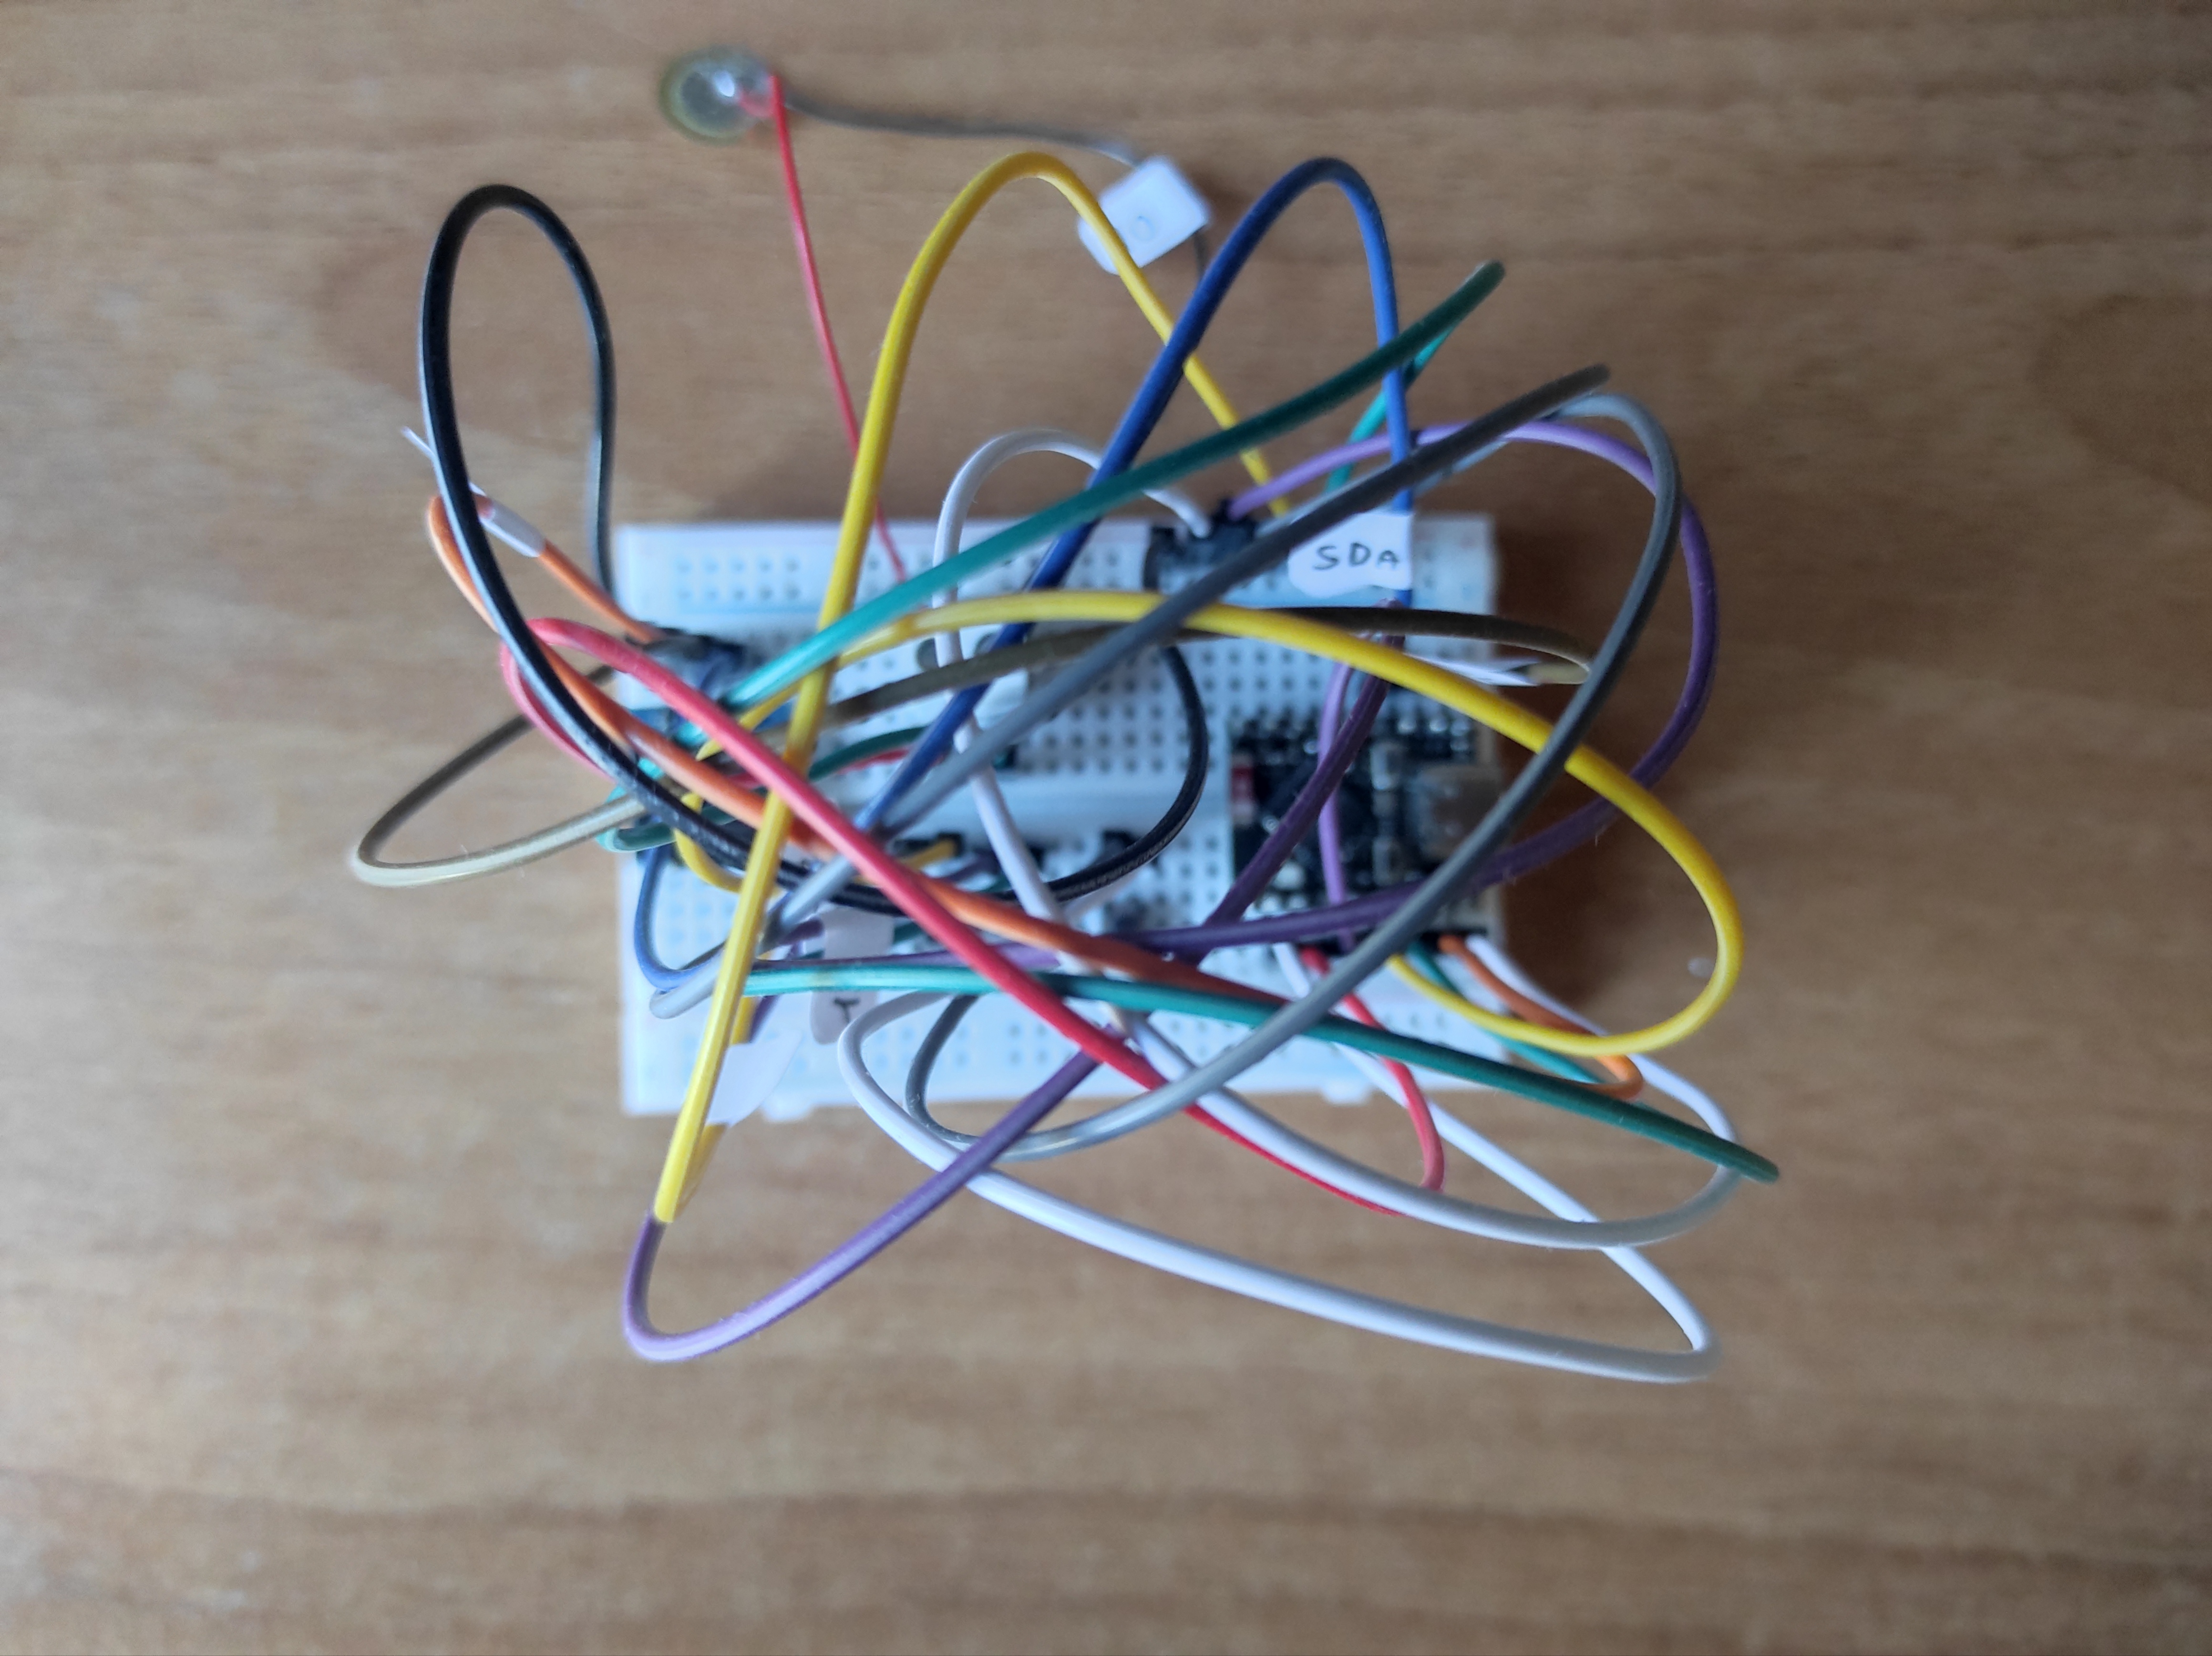
Here it is! A nice mess on a breadboard, but wait a minute...
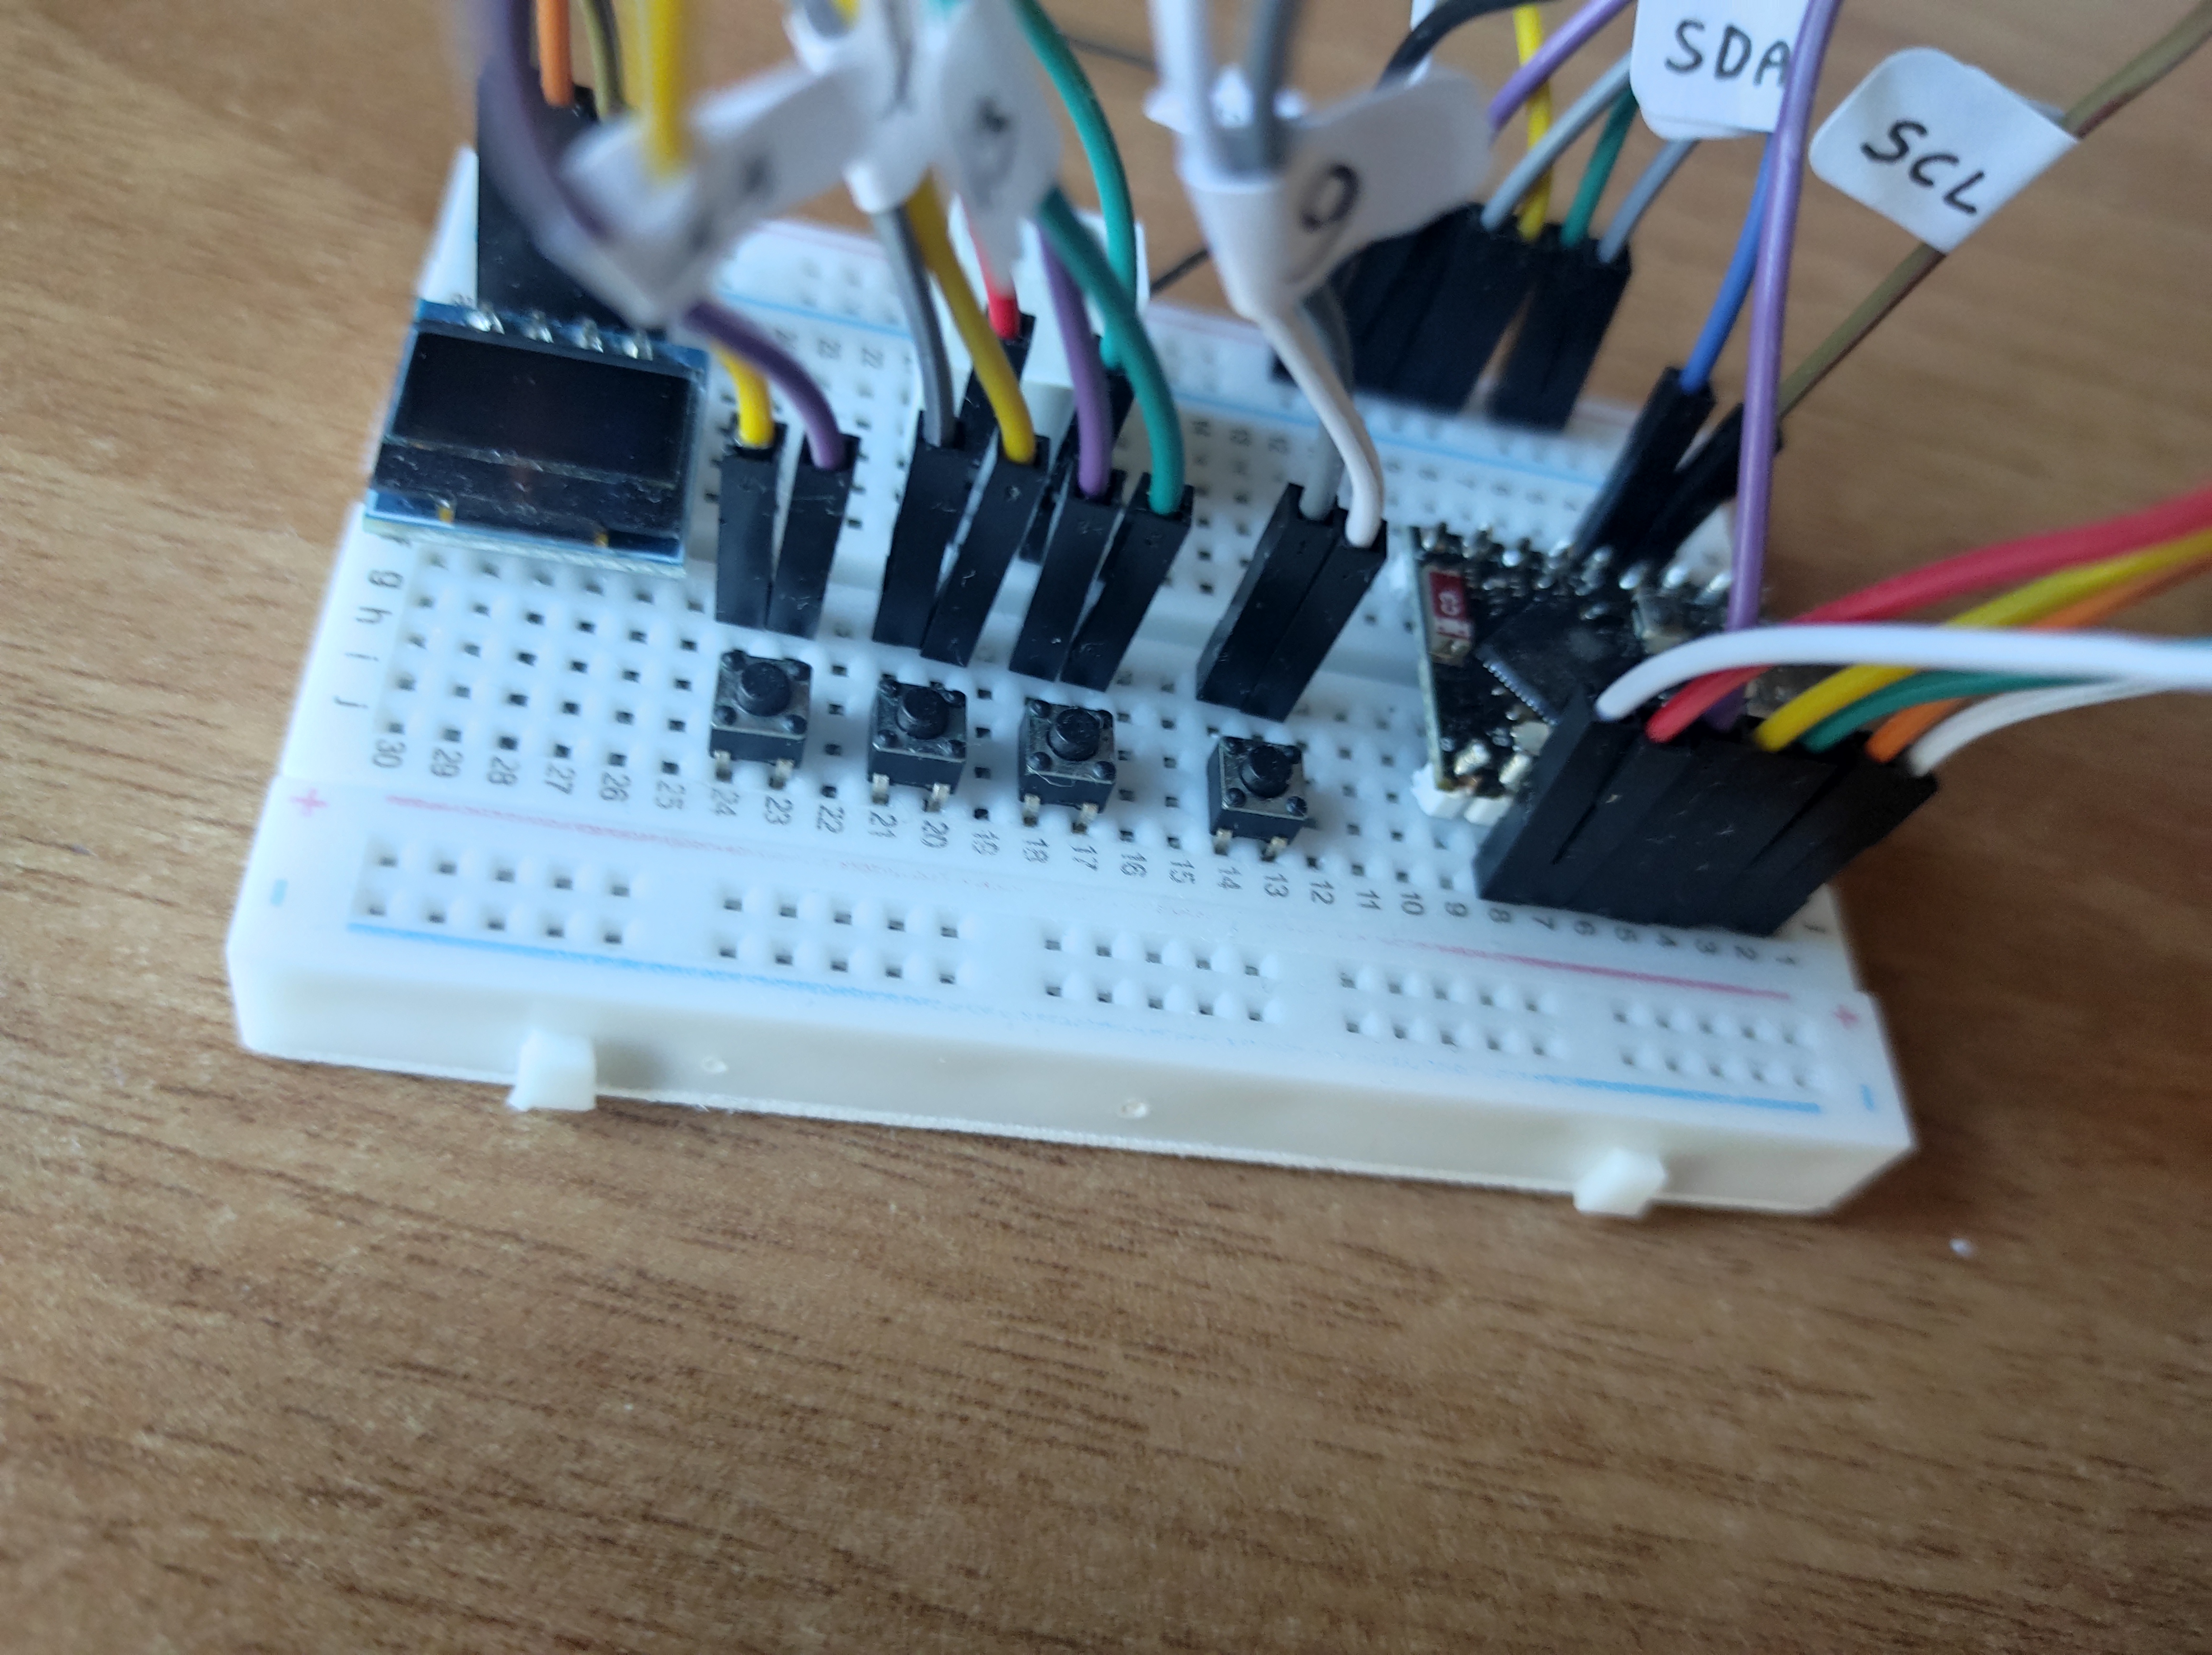
that's a detail, and the circuit diagram below
+-----------------------------+
| ESP32-S3 SuperMini |
| |
| [1]SCL ------> OLED SCL |
| [2]SDA ------> OLED SDA |
| 3.3V ------> OLED VCC |
| GND ------> OLED GND |
| |
| [9] <------ BUTTON1 |
| [11] <------ BUTTON2 |
| [12] <------ BUTTON3 |
| [13] <------ BUTTON4 |
| |
| [10] ------> BUZZER(+) |
| GND ------> BUZZER(-) |
+-----------------------------+
▲ ▲ ▲ ▲
│ │ │ │
G G G G (All buttons connect to GND)
Perfect, now that we have the entire circuit set up and working on the breadboard (no annoying loose connections), we can focus on the source code. As mentioned earlier, I’ll be writing a sort of software launcher or software manager, which will essentially be our main OS that the user interacts with. But that’s not all, the following software is also capable of downloading applications from an online server! (for now, only on a local network). In fact, MiniZX can connect to the internet via Wi-Fi. Access to one of these menus happens by entering a valid button combination — because why not.
combination 1. WiFi Mode: [ESP32] <=> [☁️] → [↓ Software]
combination 2. Run Mode: [ESP32] → [ ⚙ App1] / [ ⚙ App2] / [ ⚙ App3]
here the source code written in Micropython:
https://github.com/antoniopuccio/MiniZX
and the server with a few apps:
https://github.com/antoniopuccio/minizx-app-server
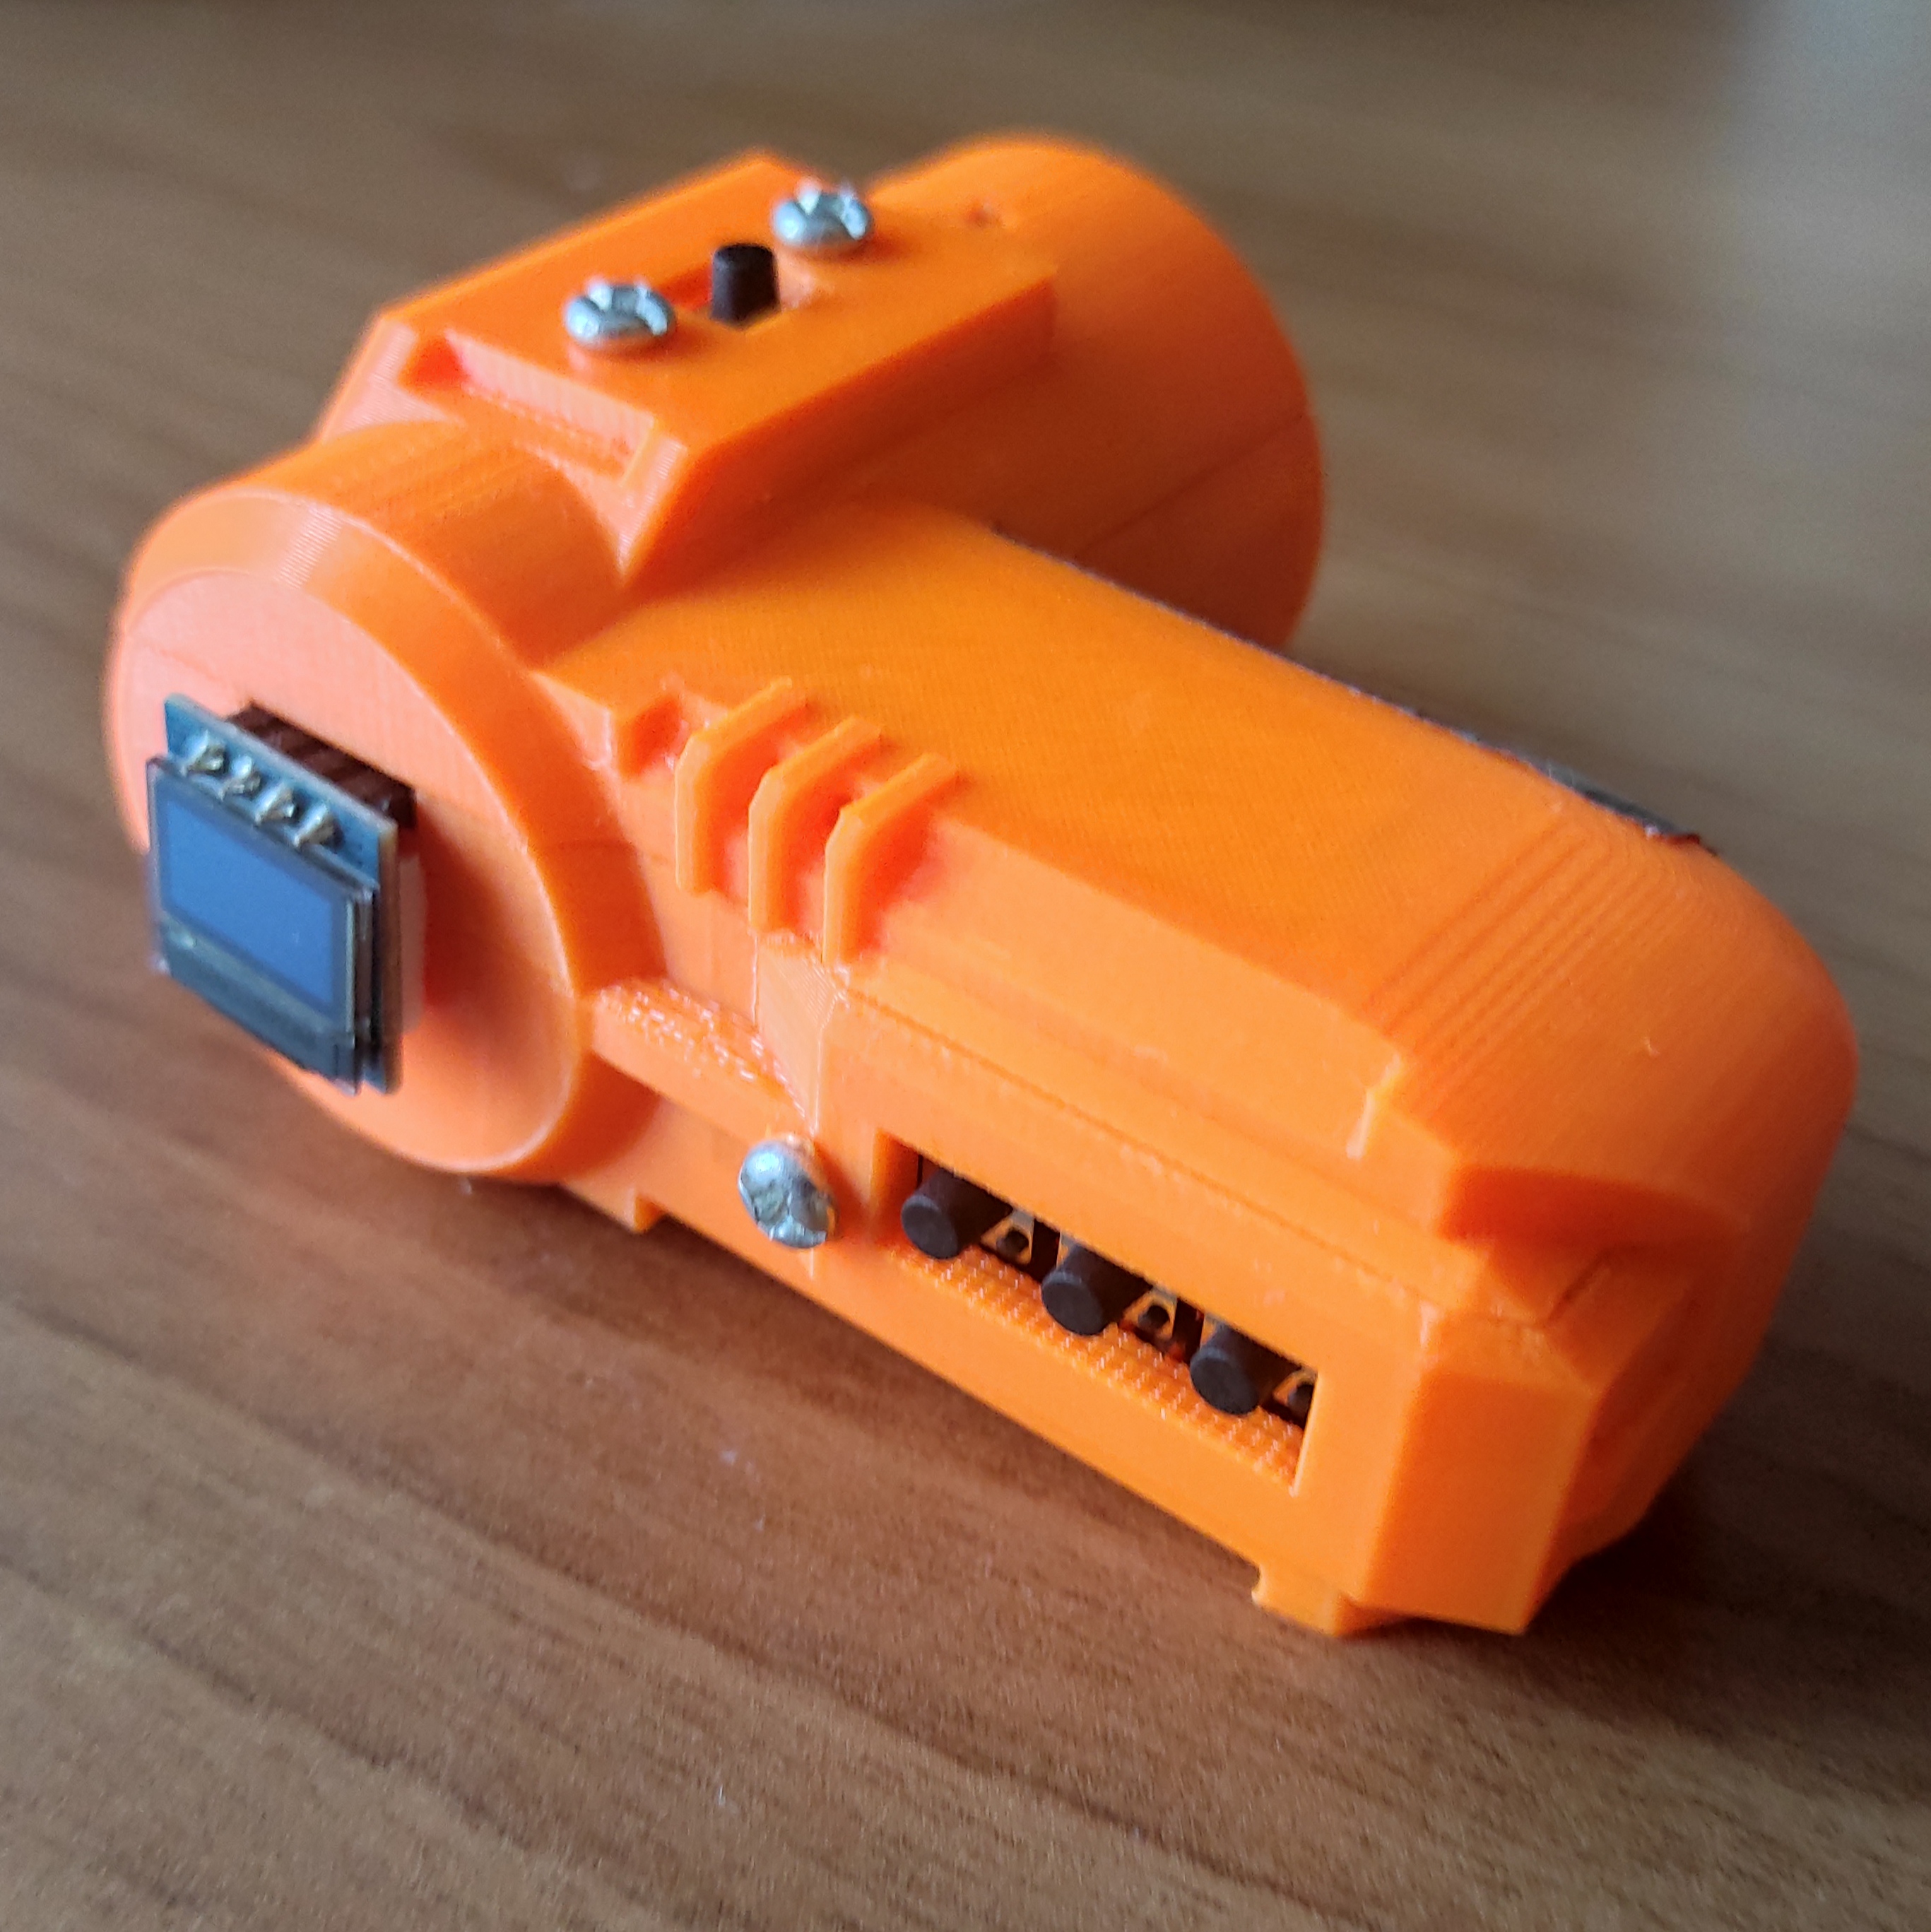
Now, let’s talk about the case. I designed it using Tinkercad — and for a first attempt at 3D modeling, I have to say, it turned out pretty well! The case was then brought to life with a next-gen Bambu Lab 3D printer, delivering a clean and professional-looking result.
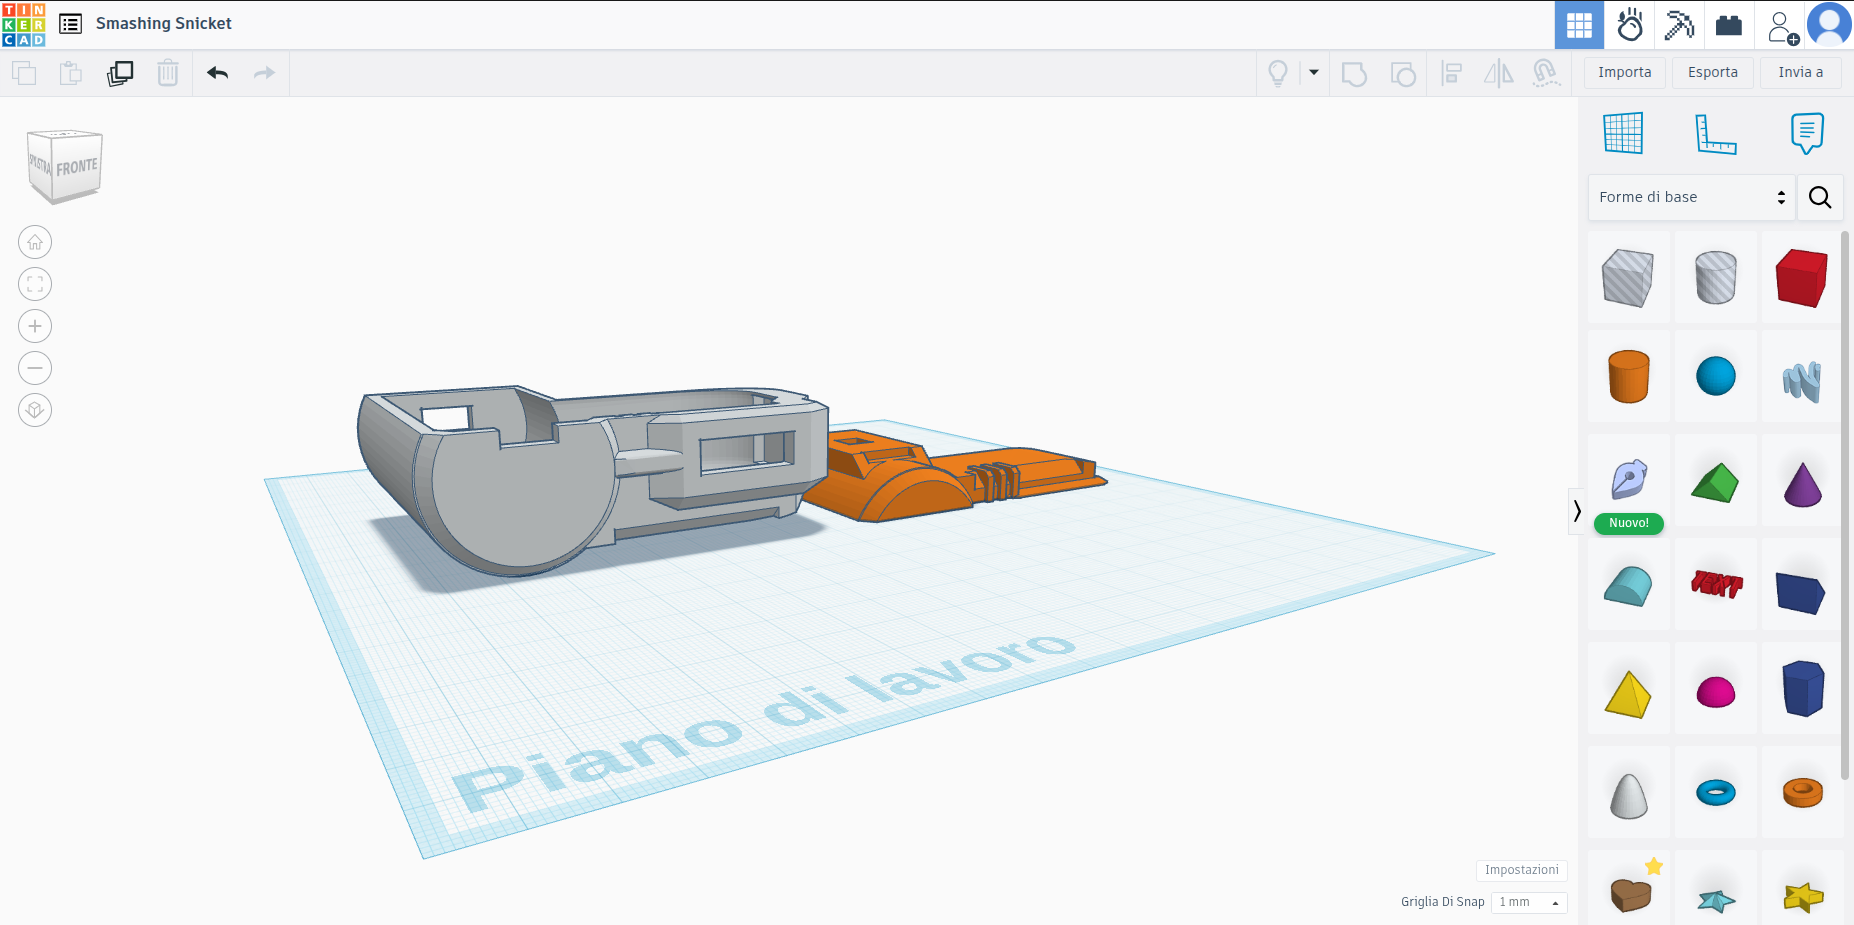
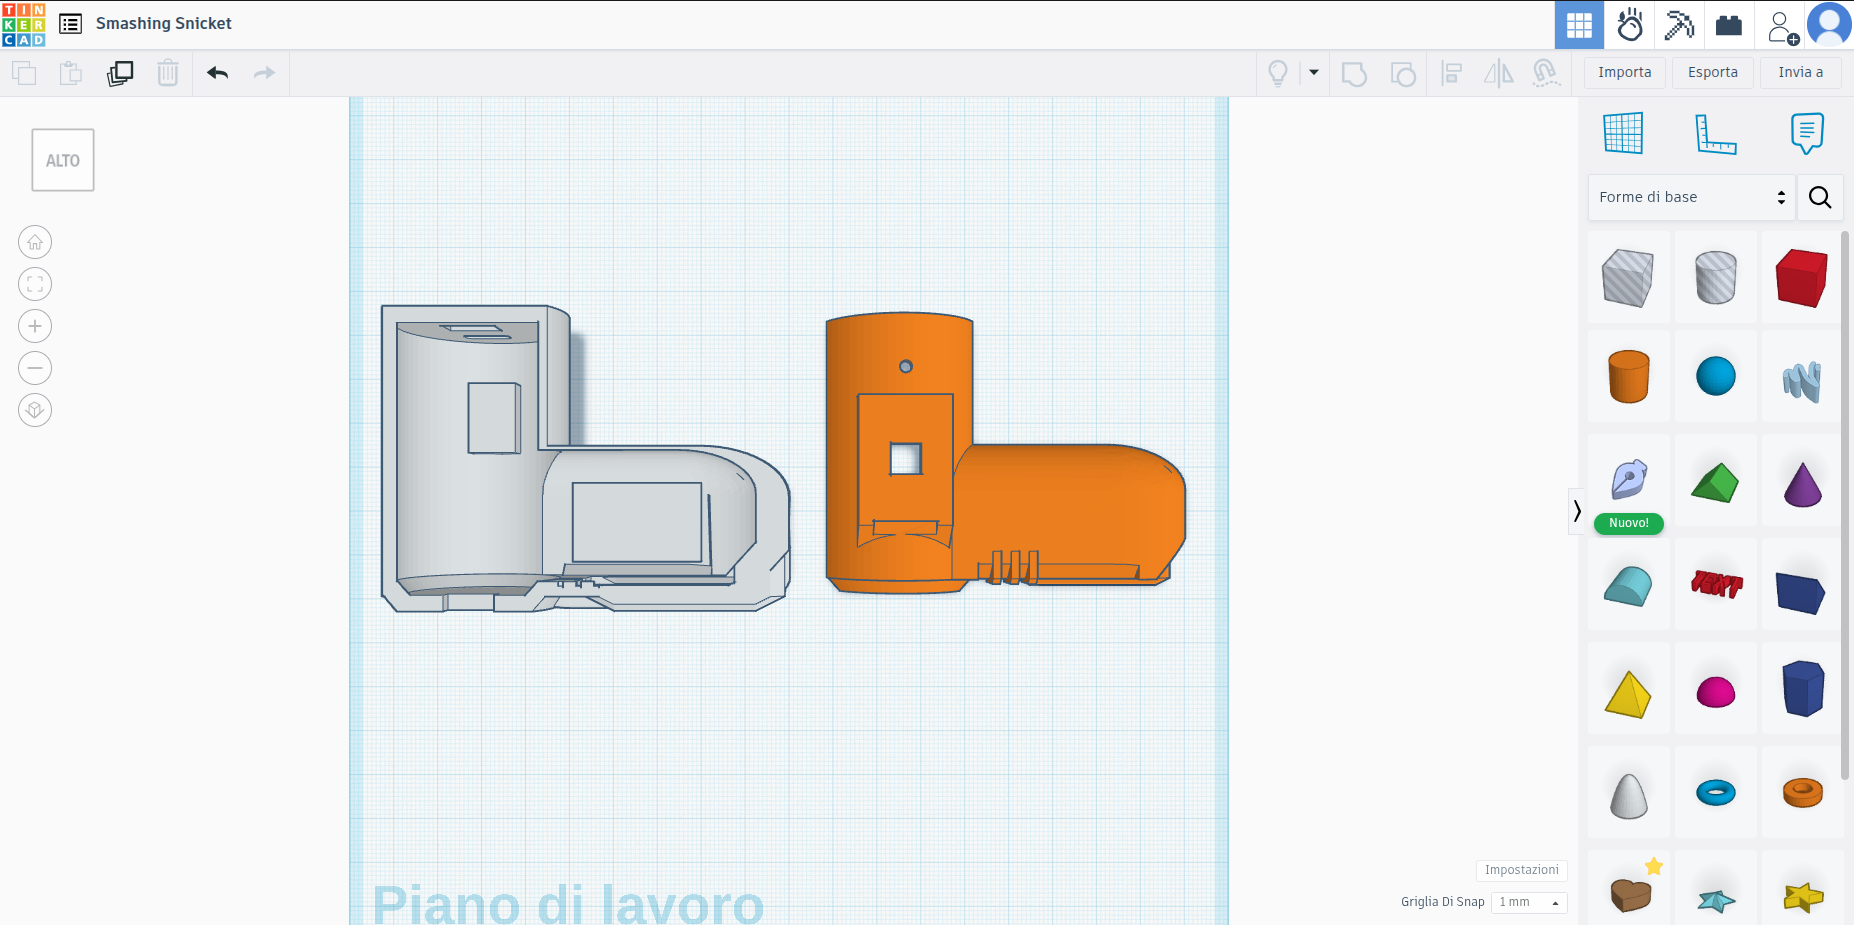
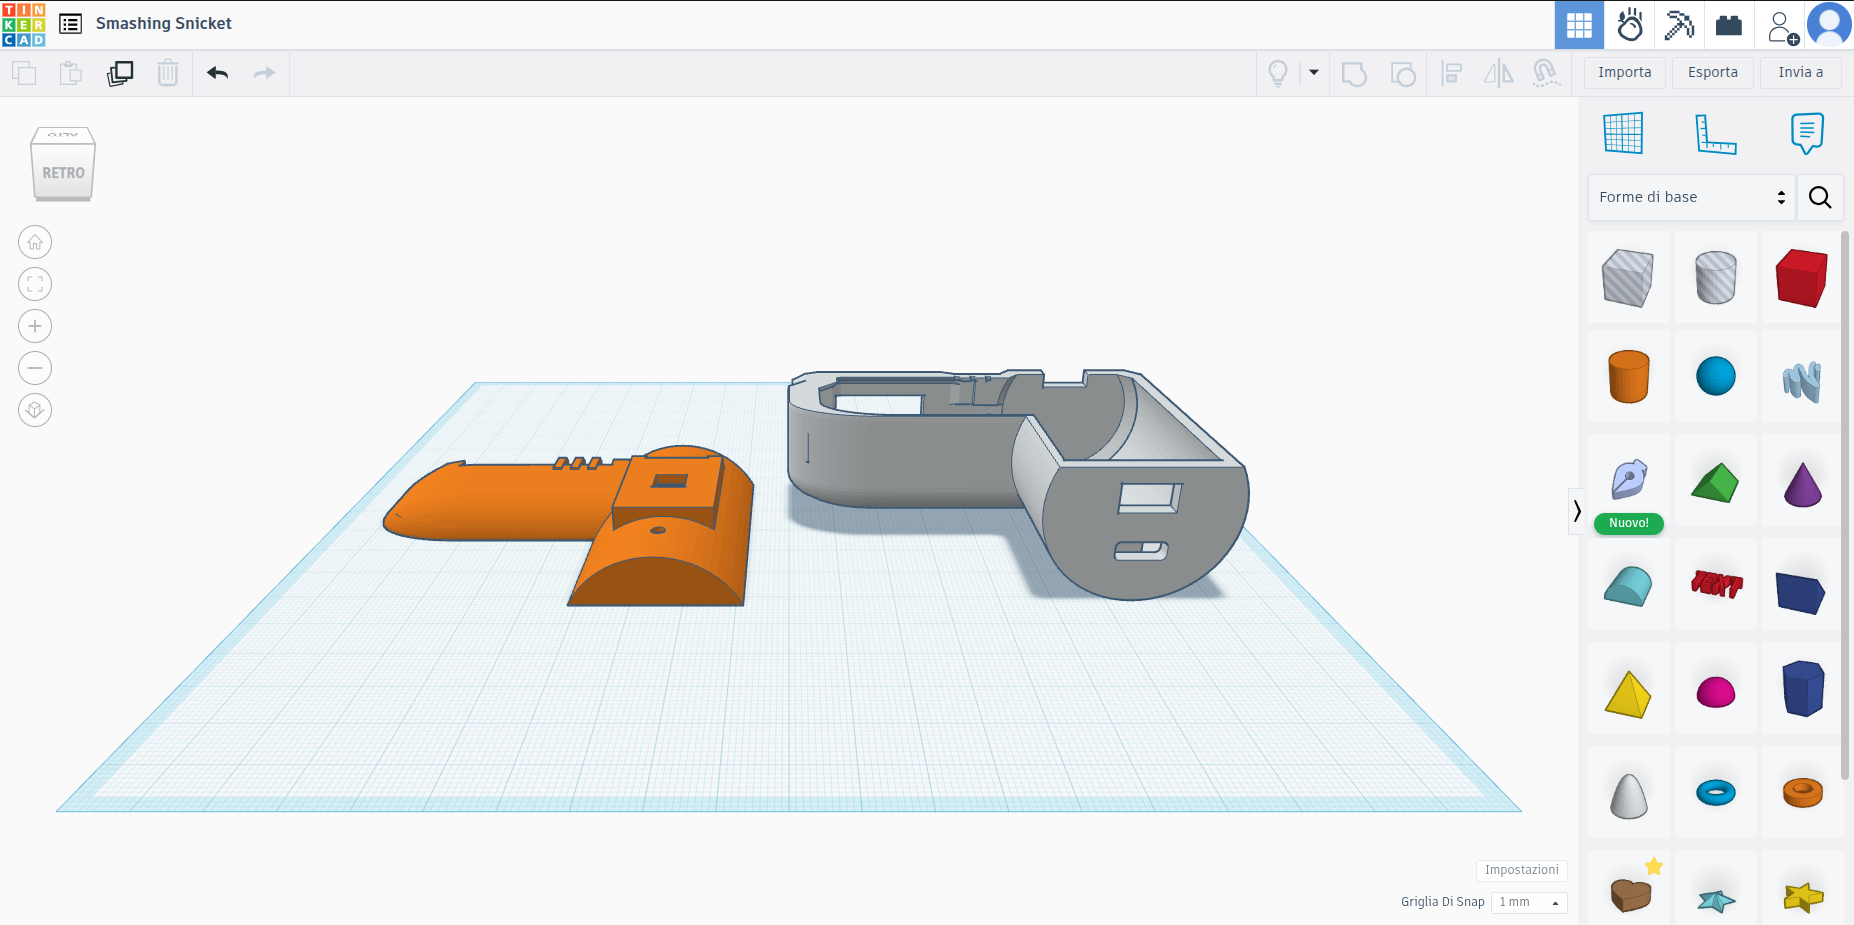
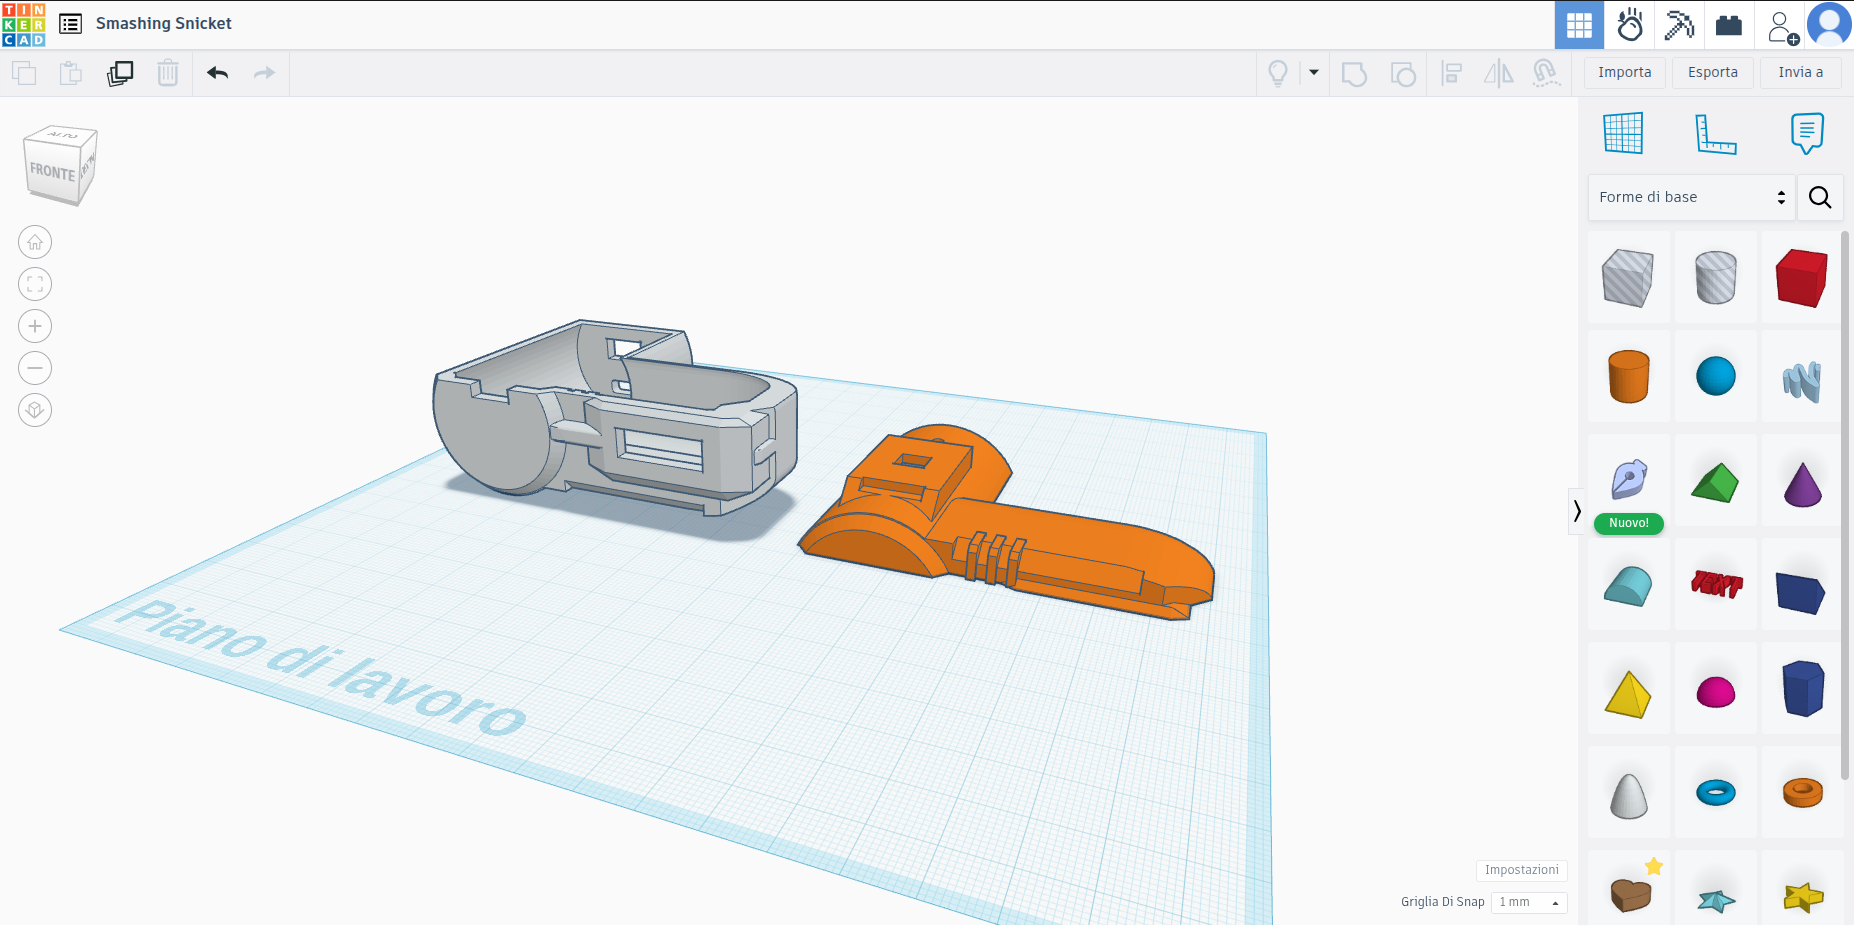
After fitting in all the components — buttons, a switch, an OLED LCD, a few wires, and of course the ESP32-S3 Super Mini — our little gadget is ready to go!
https://x.com/puc1070/status/1910773546491535387
I hope someone will contribute to the project. Bye